
Blog
Subscription Dependent Pricing (read more about it here) lets you offer discounts for additional services and facilities to your customers - managed by the subscription to a livery or membership package that they have.
In this guide we’ll show you how to setup Subscription Dependent Pricing. As the process is the same for both facilities and services, this example will show the process for a service but it’ll work exactly the same for a facility.
Before you start you need to make sure you have the following setup:
Once you’ve got everything setup you’re ready to begin. The discounts are setup under the Admin Edit Screen for the relevant facility or service you wish to offer the discount on. You’ll see the following section within the edit screen:

You can add as many discounts as you need by clicking the + button.

From here you need to make two choices. First select the service a customer is required to have a subscription for to be eligible for the discount. Second you need to set the percentage discount you’ll offer to the customer if they have the relevant subscription.
The following shows an example for a Turn Out service.

In this example you can see the standard price for a Turn Out is £5.00 and it has two possible discounts. For customers with a subscription to the standard Livery package they’ll receive a 10% discount when they order the service, whereas if they have a subscription to the Full Livery - 5 Day package they’ll receive a greater 20% discount.
Once you’re done click on Update and the discounts will be setup. As a customer they’ll see the standard price alongside any discounted prices that may be available to them for their horses (if they have a relevant subscription for that horse).

Everything else is then automatically taken care of as part of At The Yard’s automatic billing system. If you have any questions when setting this up for your yard please contact your account manager and they’ll be more than happy to help.

Today we’re taking a look back at an existing feature - Included Services Schemes. This feature was introduced to allow the setup of Livery/Membership packages which include a number of services.
For example your full livery may include:
With Included Services Schemes we can setup the allowances within At The Yard and track how many services a horse has used. Then once they exceed the included allowance the system will automatically raise a charge for any additional orders for a service.
When we combine this feature with At The Yard’s Included Facilities Schemes (https://www.attheyard.co.uk/blog/2020/1/7/included-facilities-schemes)) and Included Products it allows us to codify, track and automatically raise a charge for any extras that are not included for a customer.
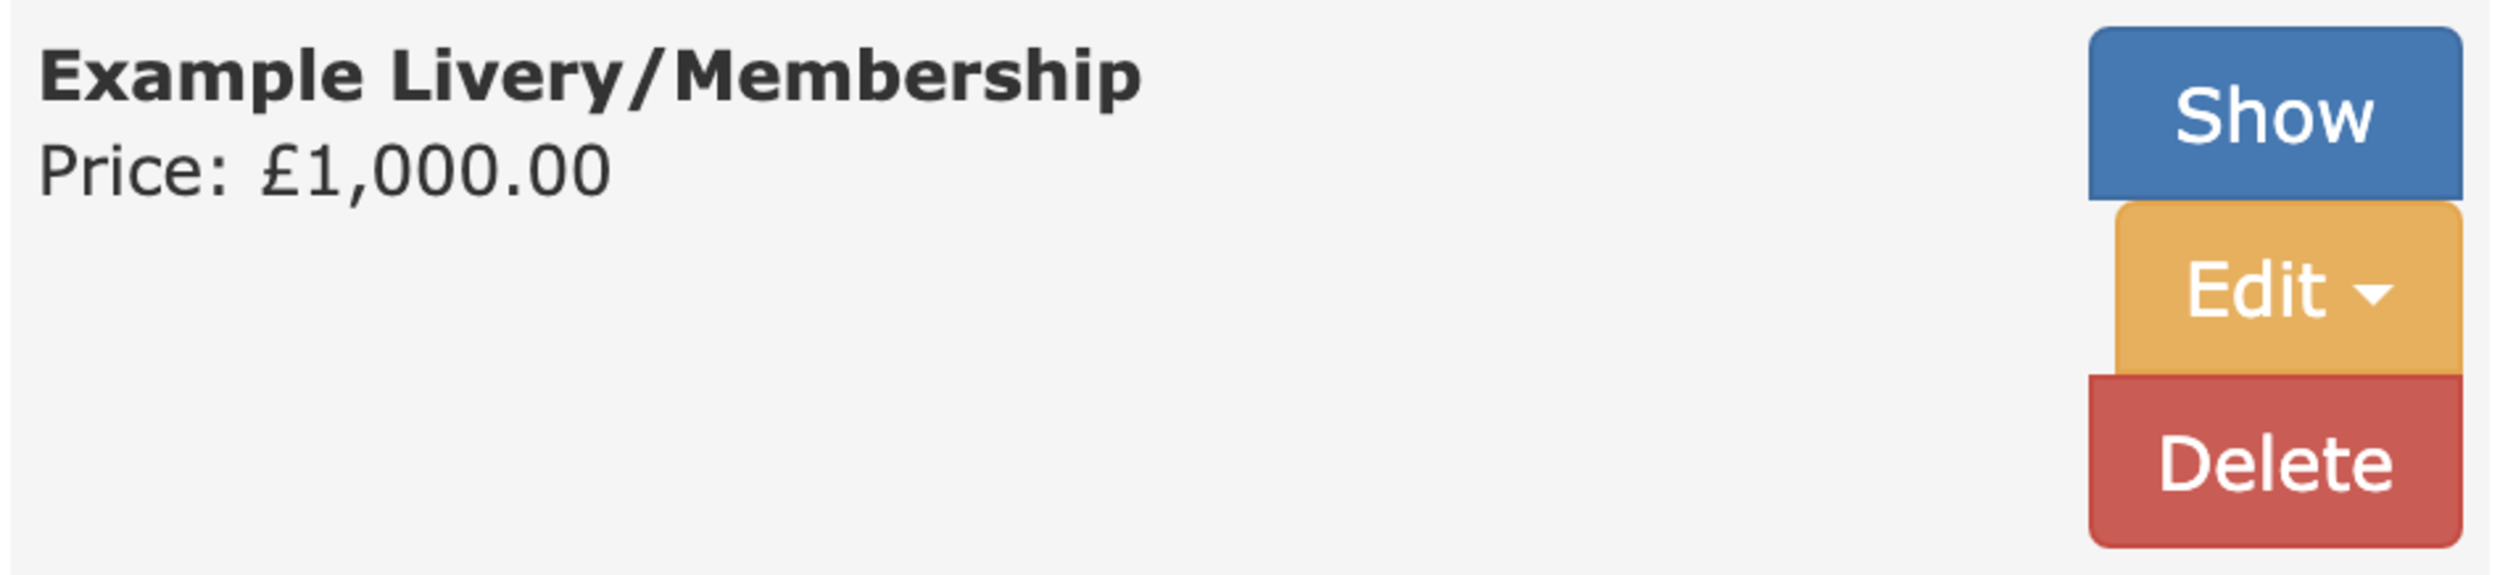
Included services can be setup on any of your ‘Continuous’ services e.g. Livery or Membership. To start the process go to the Admin, Services page and locate your service. To the right hand side of the service’s row you’ll see a button with a drop down. When you click the dropdown you’ll see a list of options (shown below) which includes Edit Included Services Schemes. Click on this to start setting up your first scheme.

To begin with you’ll see an empty list of existing schemes and also, of more interest to start with, a button called New Included Services Scheme. When clicked it’ll bring up a page allowing you to choose the type of scheme you wish to create.
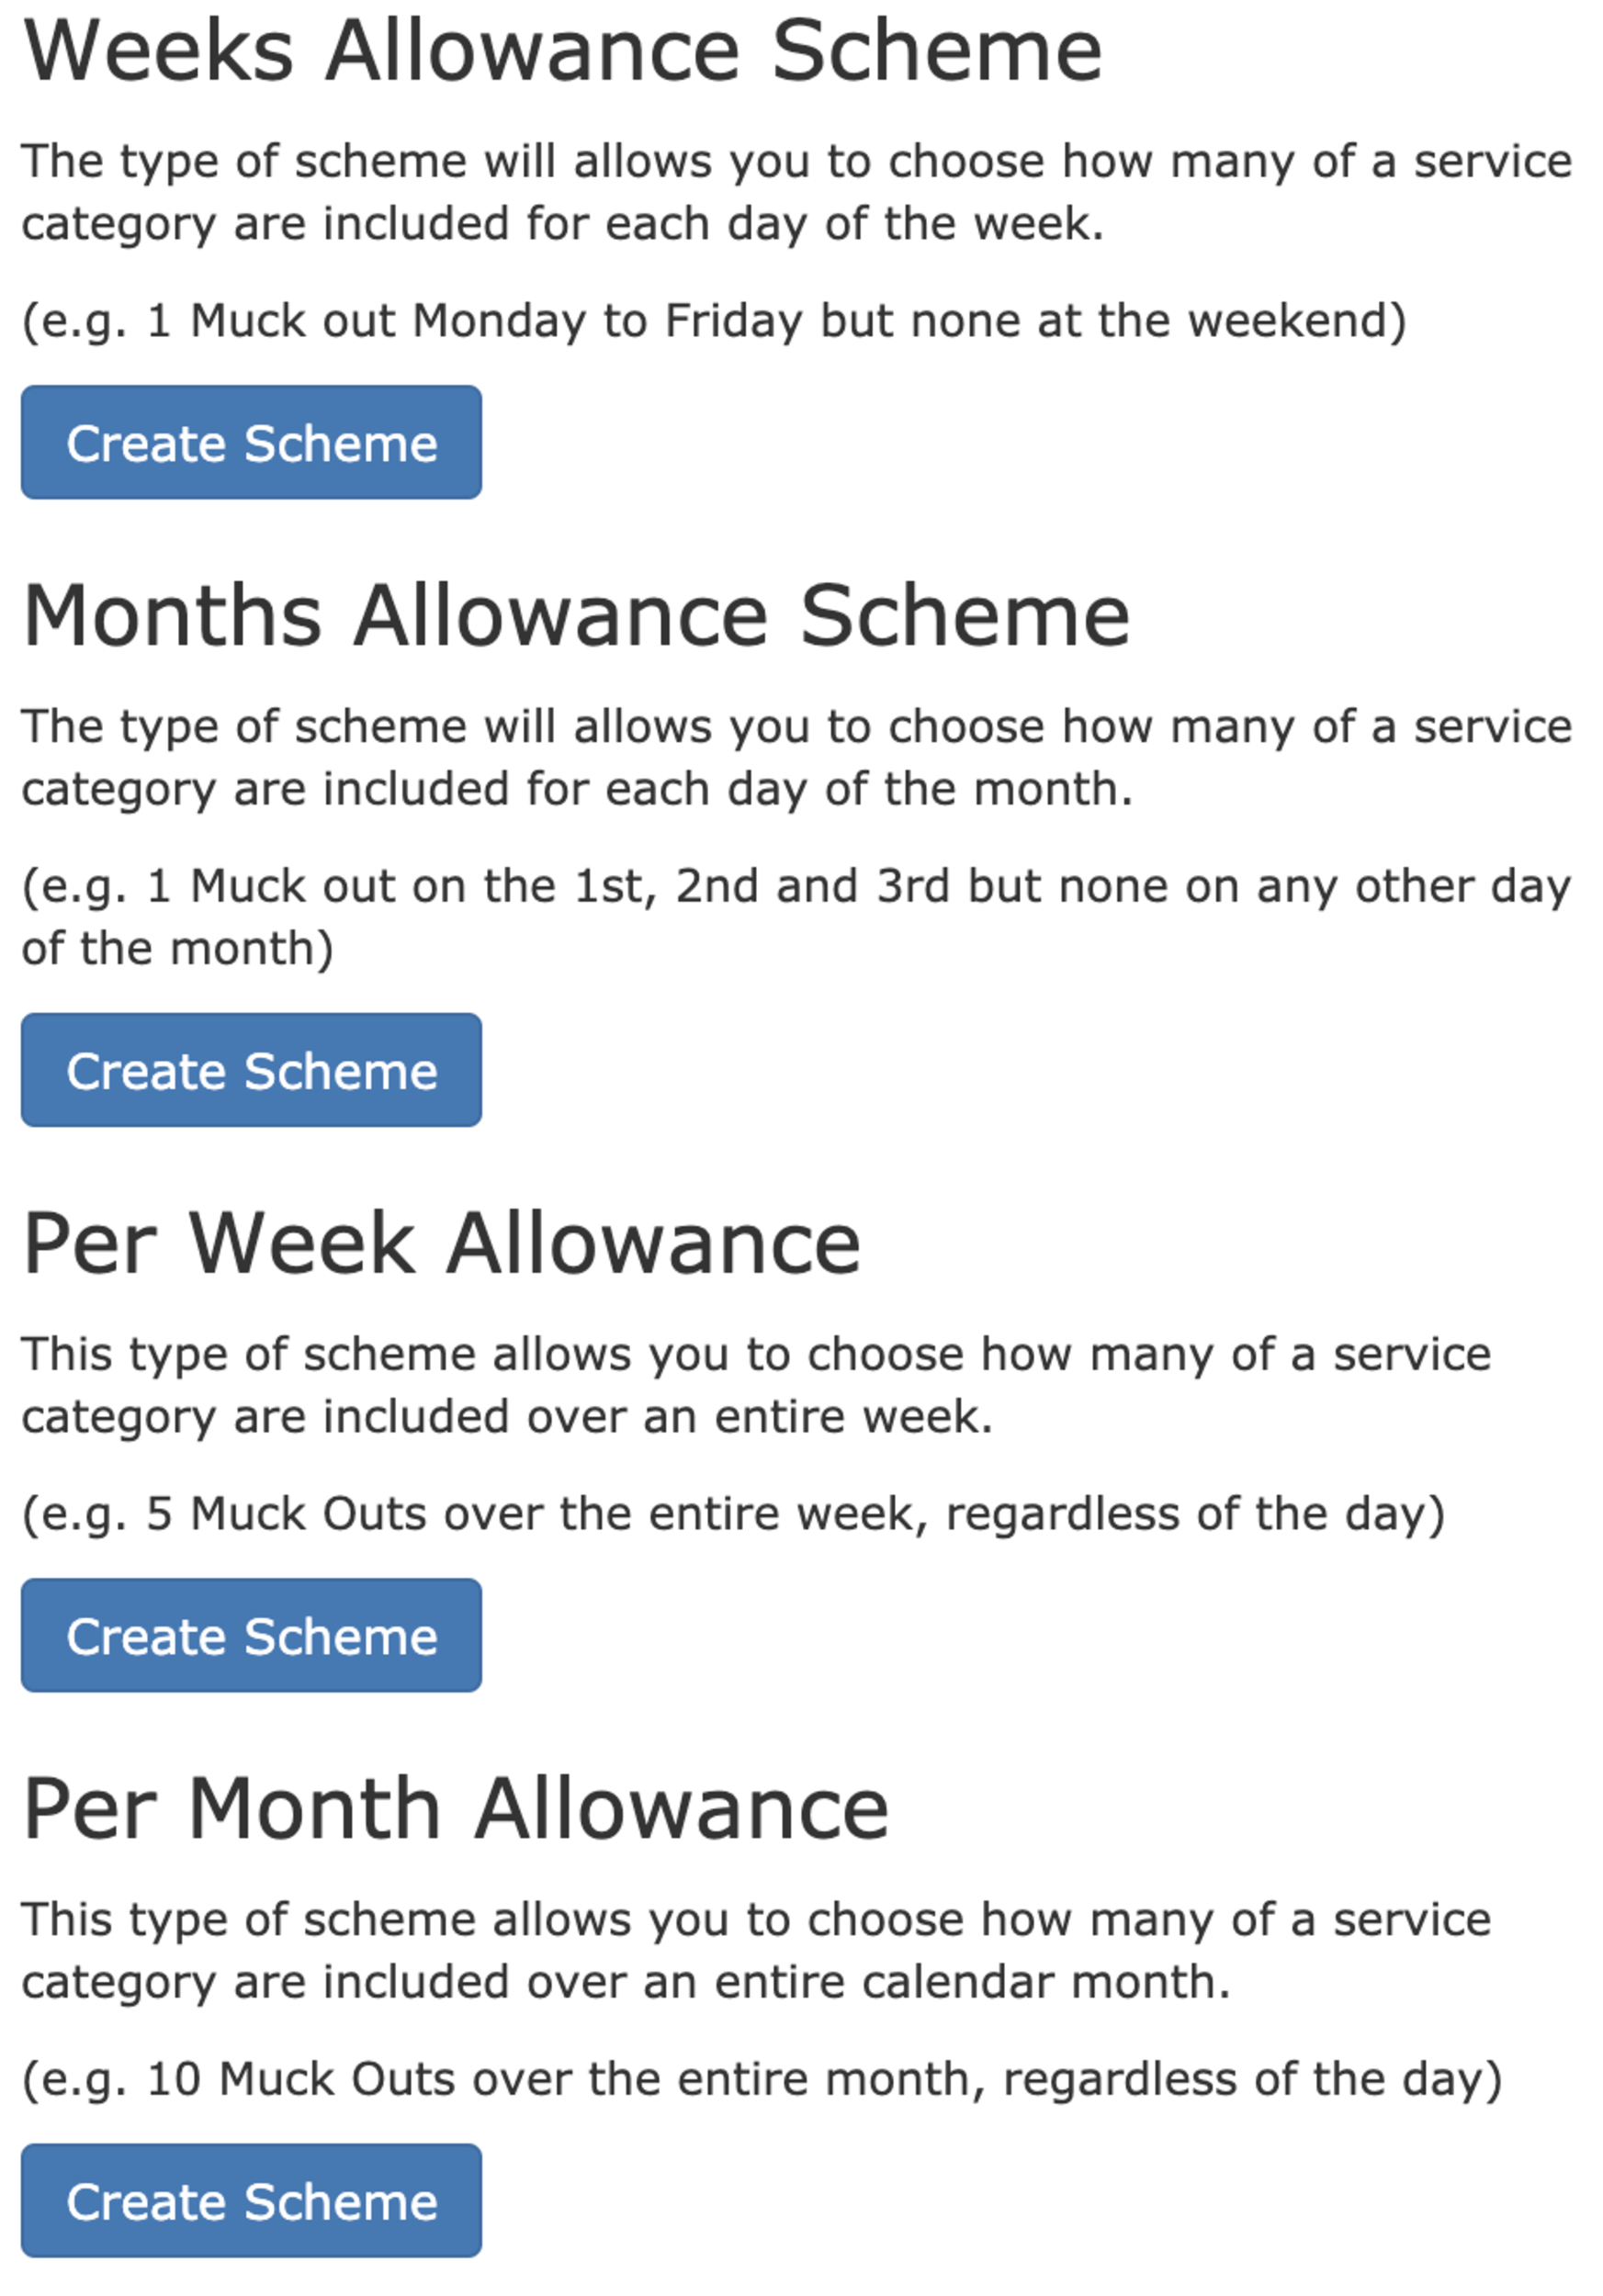
This screen will explain the types of schemes you can setup. At the time of writing there are 4 types of scheme; Weeks Allowance, Months Allowance, Per Week Allowance and Per Month Allowance.
Each of these are explained in the dialog. In this example we’re going to create two different schemes to achieve a basic setup for a livery package.
The first is a Weeks Allowance Scheme will be used to setup the allowances for turn outs and bring ins. The second, a Per Week Allowance, will be used to setup an exercise allowance.
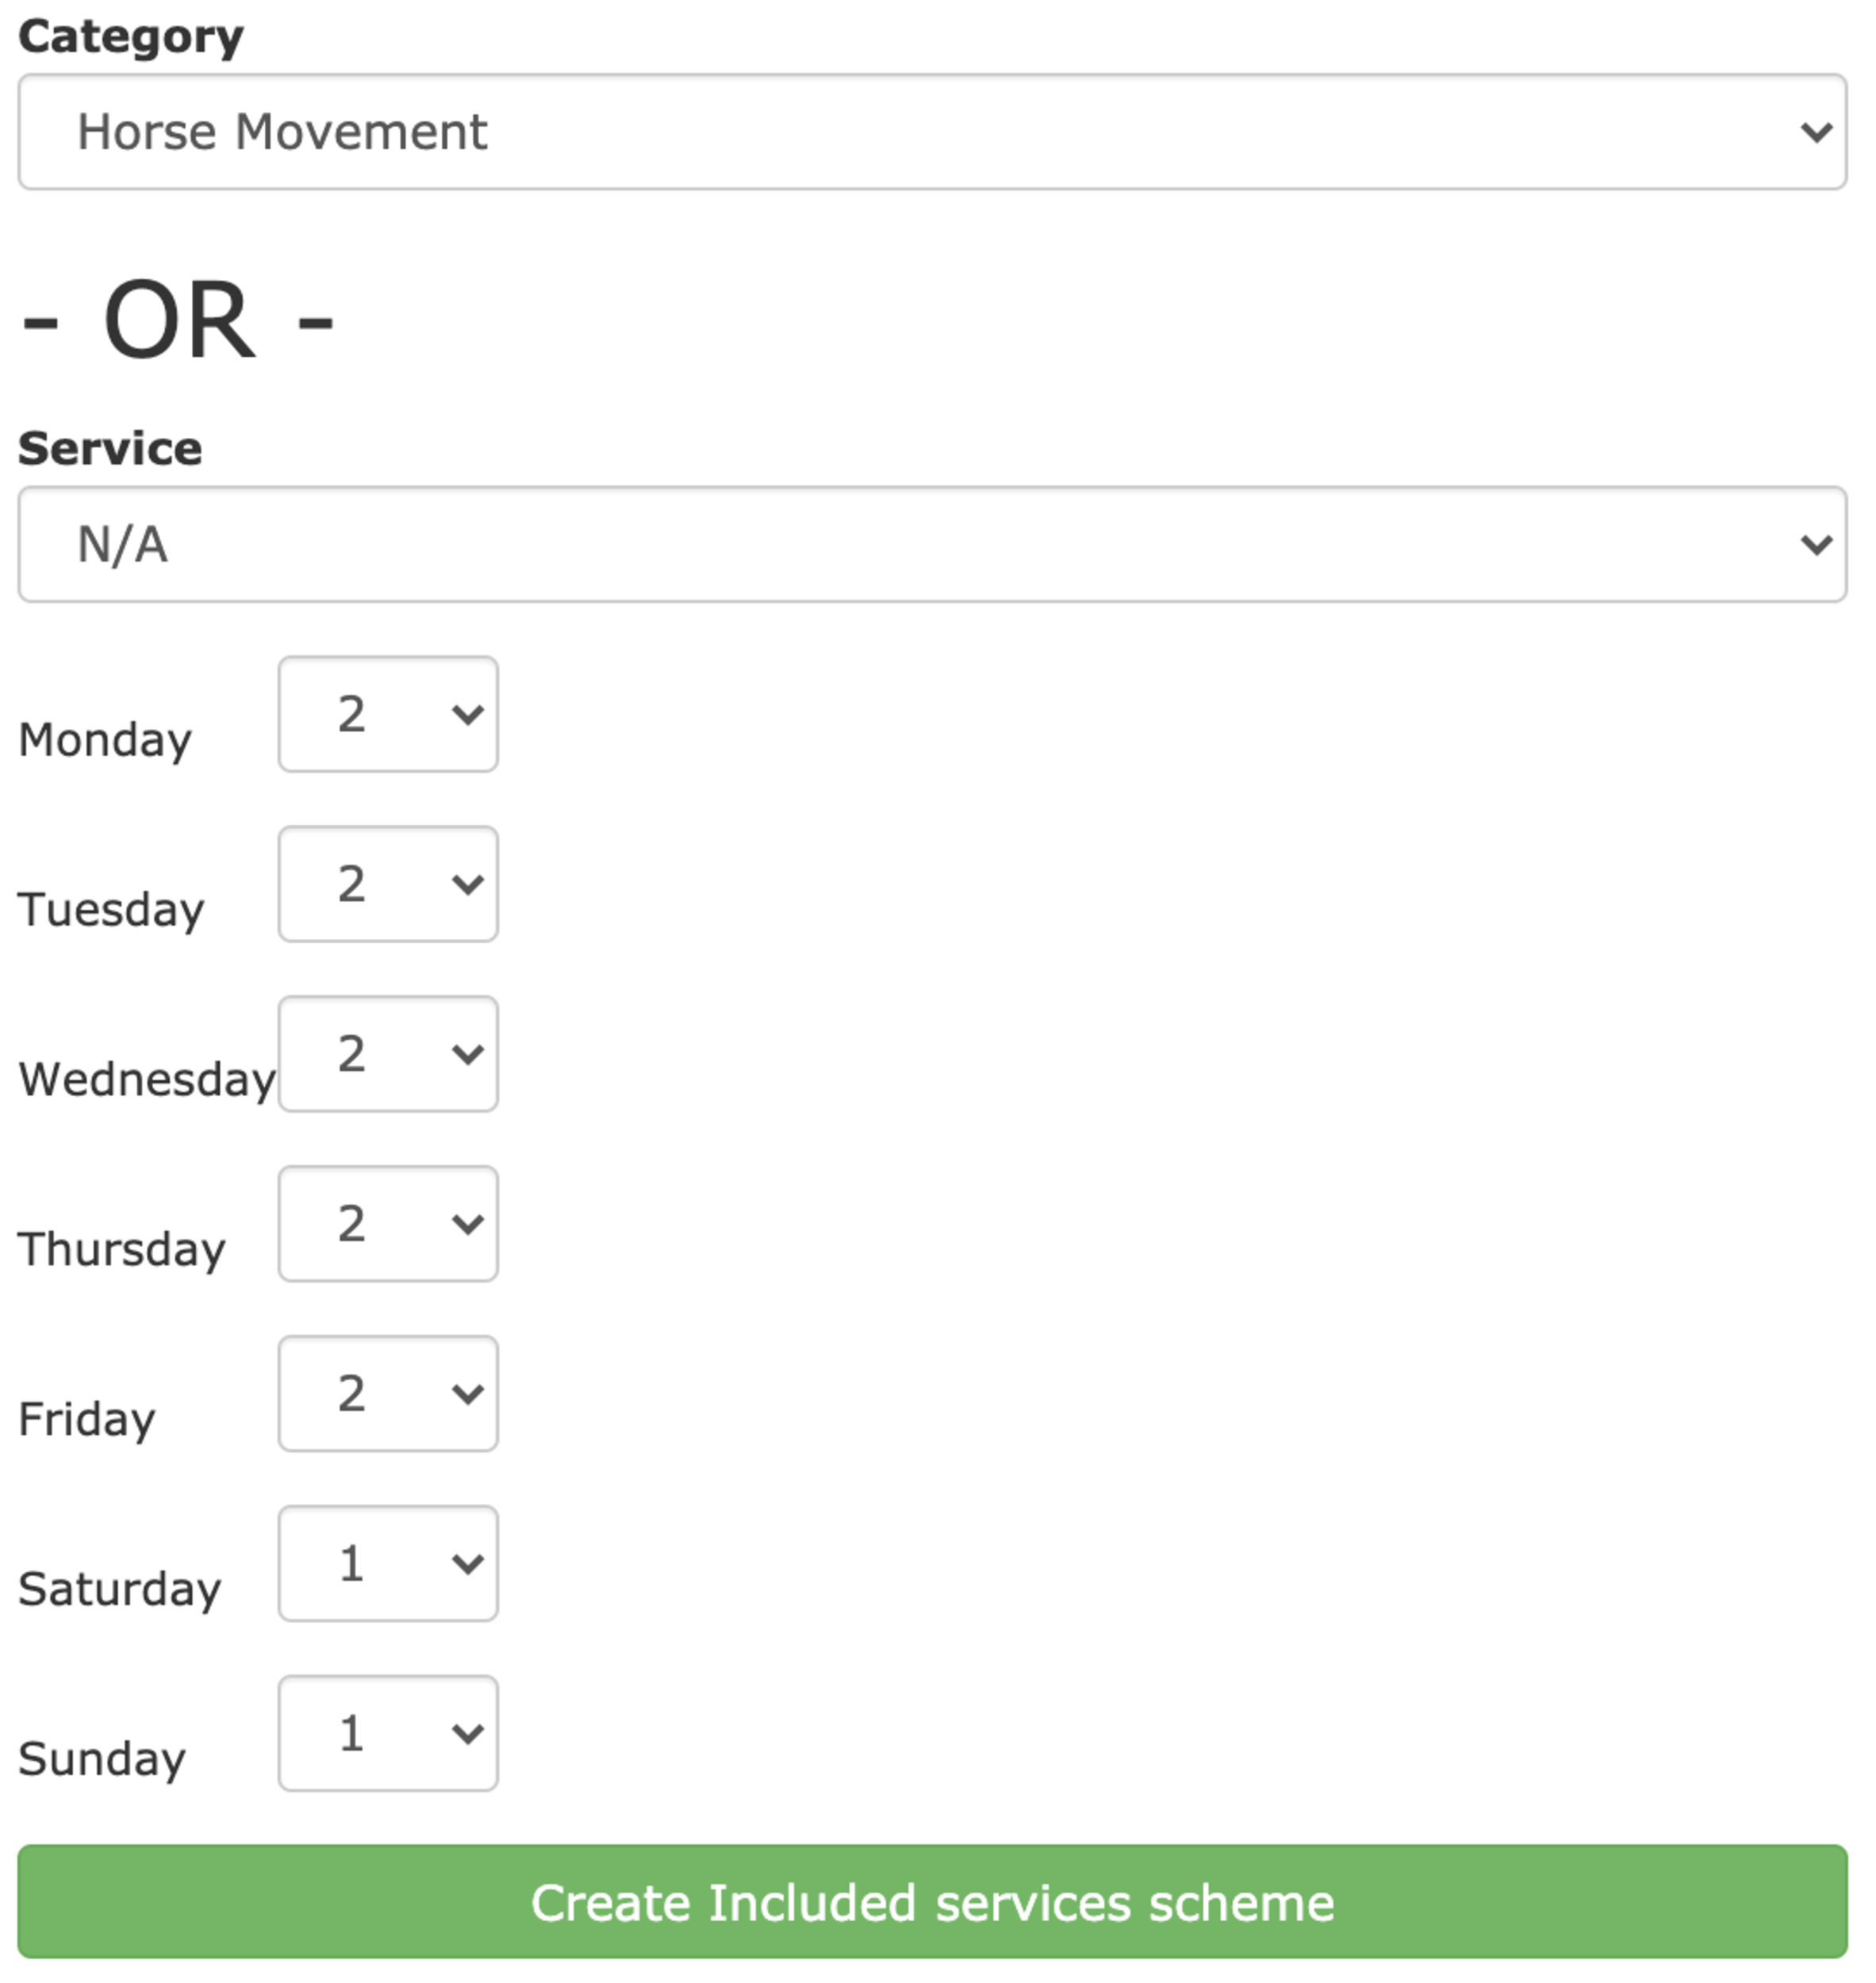
Once you’ve selected the scheme you wish to use you’ll be presented with an interface to set the allowance for each day.
You have the option to setup an allowance for a single service or for a category of services. In this example we have created the category called Horse Movement which includes both Turn Out and Bring In.
You can then choose how many of these are included as part of the package for each day in the week.
In this example we’ve setup your typical 5 Full/2 Part style livery in which over the weekends they only get to choose from either Bring In or Turn Out where as in the week they get both included as part of their package.
Once you’re happy you can click on Create and your new scheme will be ready.
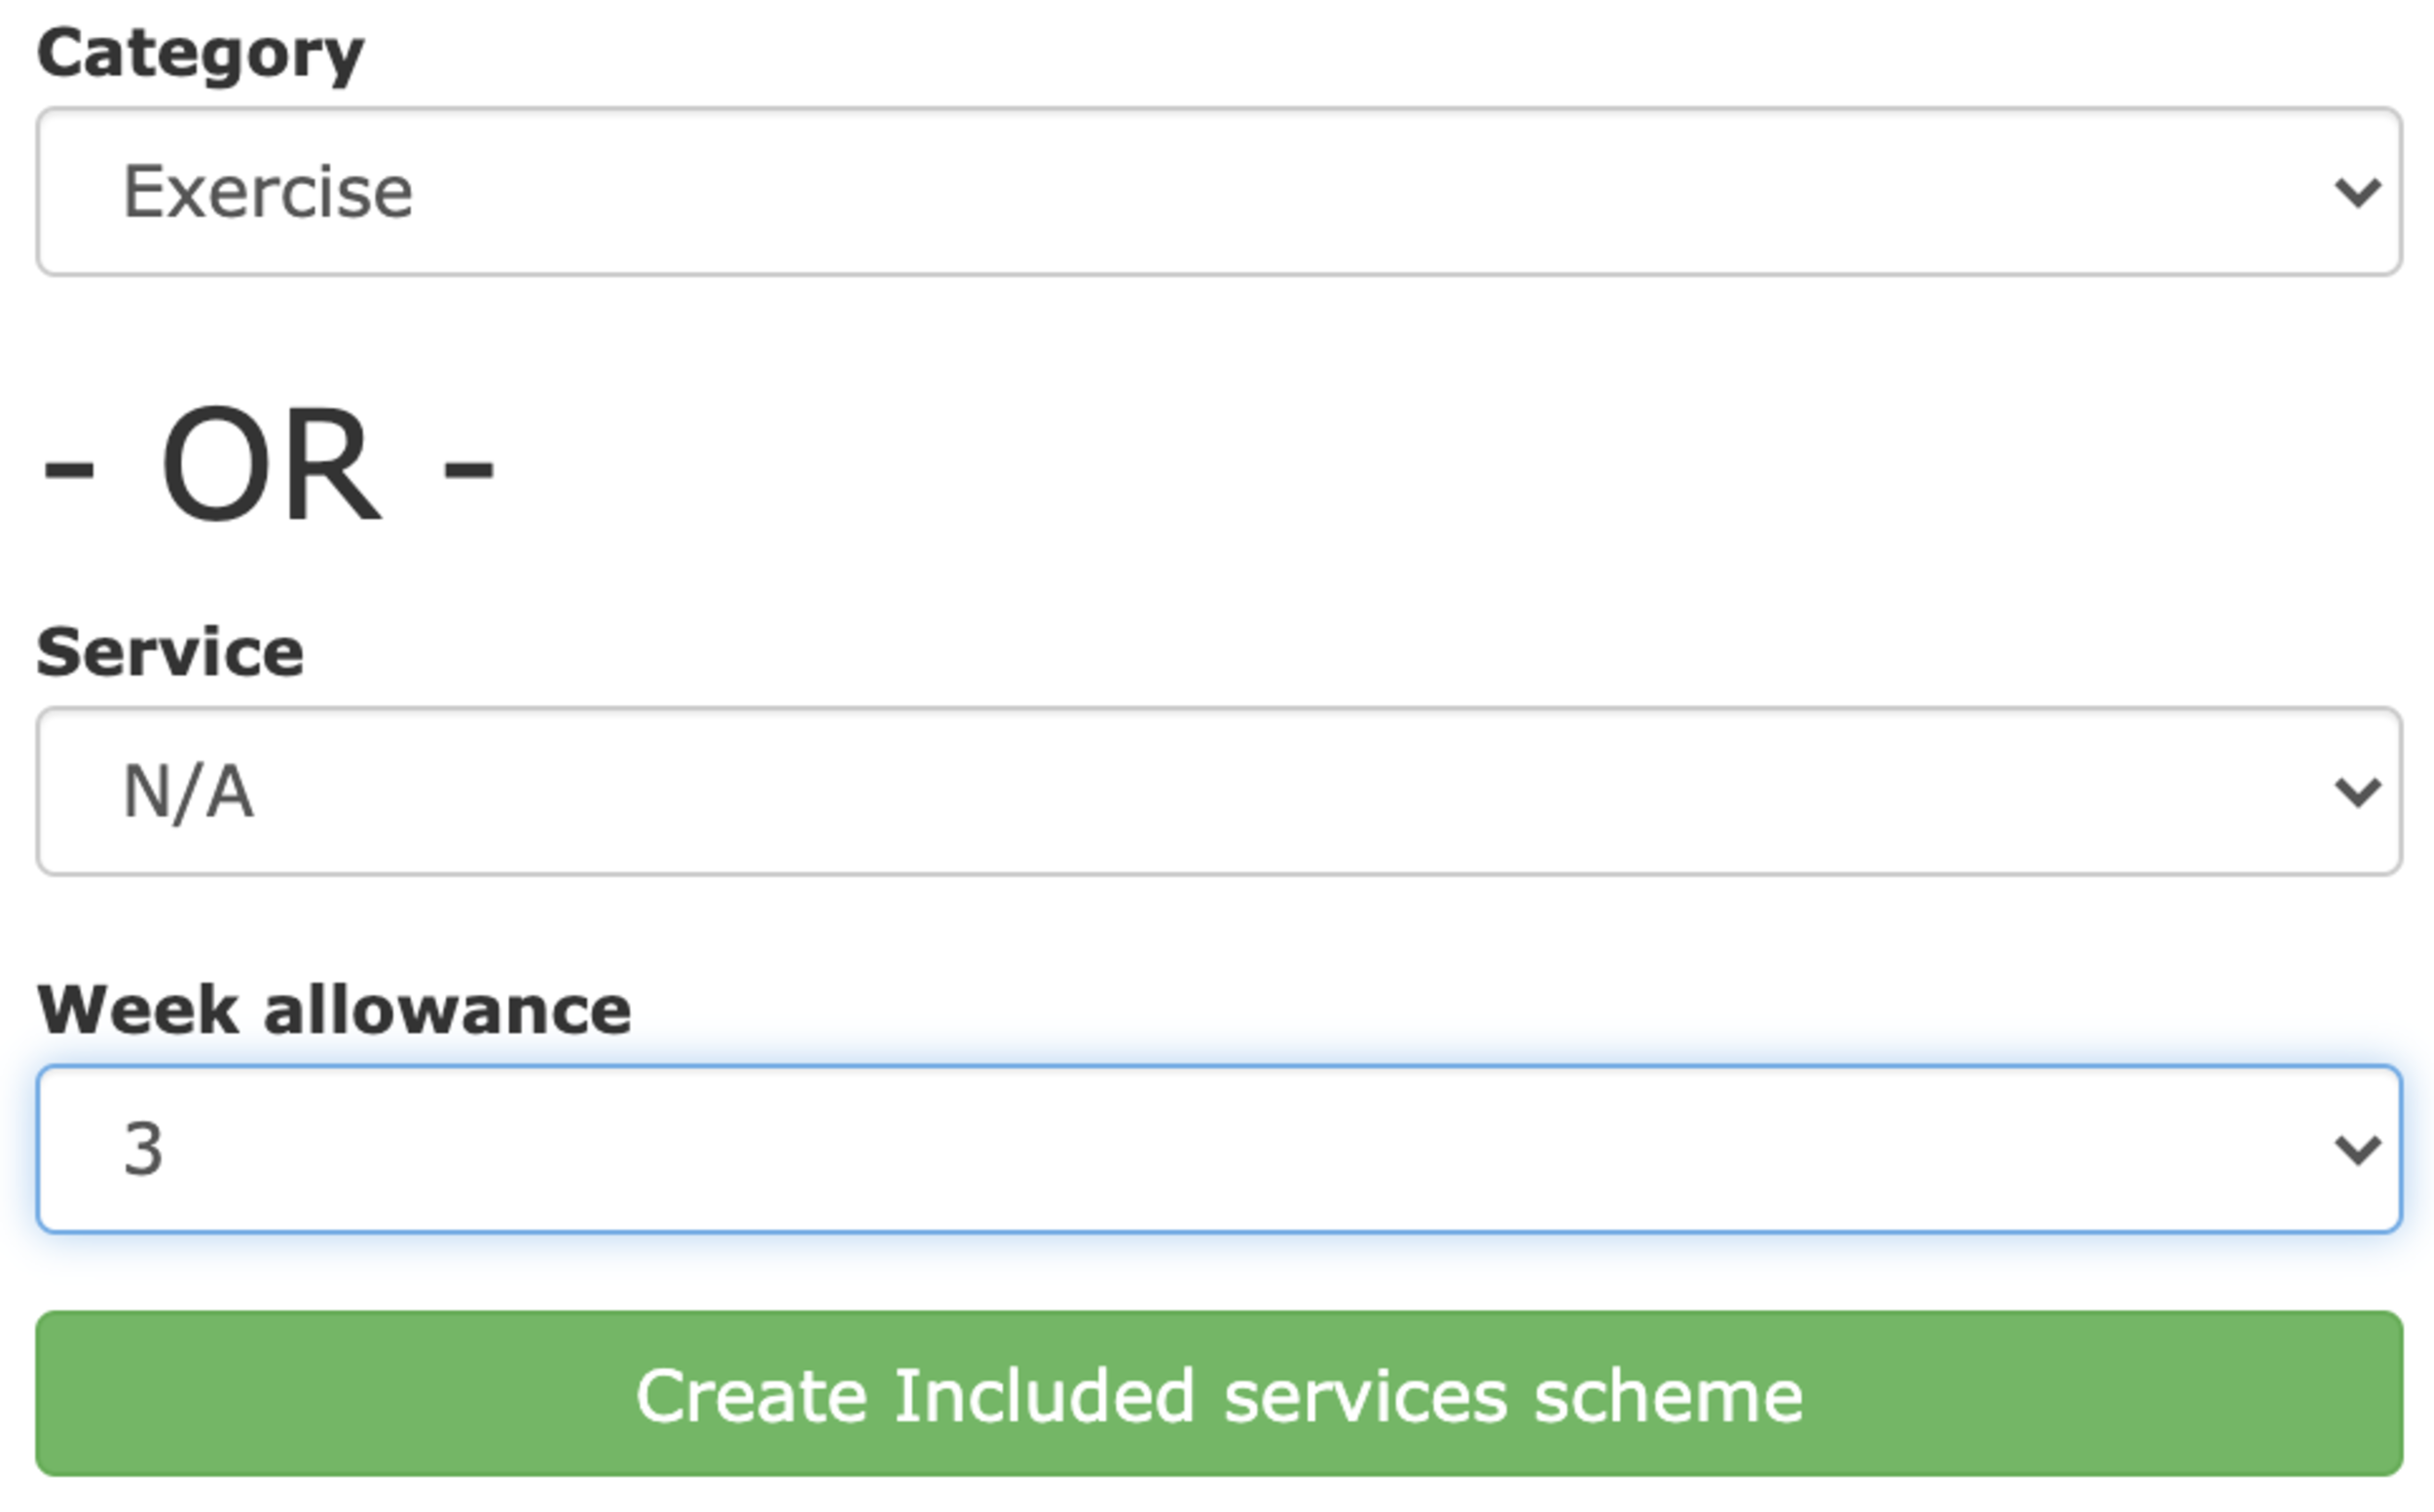
The per week allowance is slightly different in that, instead of allowances being on predefined days, a user is given the choice of which days in a given week their allowance is used. Because of this the setup screen is slightly different.
Again you can choose a category (in this case Exercise) and set the number of these included in a given week.
Once you’ve finished creating your schemes you can click back on edit for the service and get an overview of everything included (shown below).

This not only allows you at a glance to see what subscribers to the service will receive but also lets you see what services are part of a given category. As you’d expect you can also go in and edit the scheme or remove it entirely.
For a user to receive these schemes they simply need to have an active subscription to the service and from there At The Yard will automatically track everything, meaning both the yard and user can go ahead and order services without having to worry about manually keeping track.
Keeping track of billable costs at a livery yard is much more than just charging for livery and any extras. You have to be able to calculate costs incurred for usage beyond what’s included, whether it’s for extra services, products or facilities.
With the included services schemes feature we’ve looked at today you can keep track of everything automatically. This not only ensures you’re paid for additional services you provide your customers but also makes things fairer for everyone - it makes sure that one horse at the yard is not excessively using the yards resources without paying their fair share.
It’s a win win - the yard realises the revenue it should already be receiving and customers are happier due to the equitable service received for their livery bill.
Within the invoicing side of At The Yard you have long been able to track payments for your invoices. This means, at a glance, you can always see how much you’re owed and which clients owe it to you!
Today we’re making this tracking more flexible by introducing Prepayments.
Prepayments allows a customer to pay a lump sum upfront and for you to apply this payment to invoices going forwards. There are numerous use cases for this. for example:
Getting started with prepayments is simple, at the top of the admin invoices page there is now a button called Record Prepayment.

Simply click on it to bring up the new Prepayment screen.
(Note: You can also click the dropdown which will allow you to see all existing payments and their status)
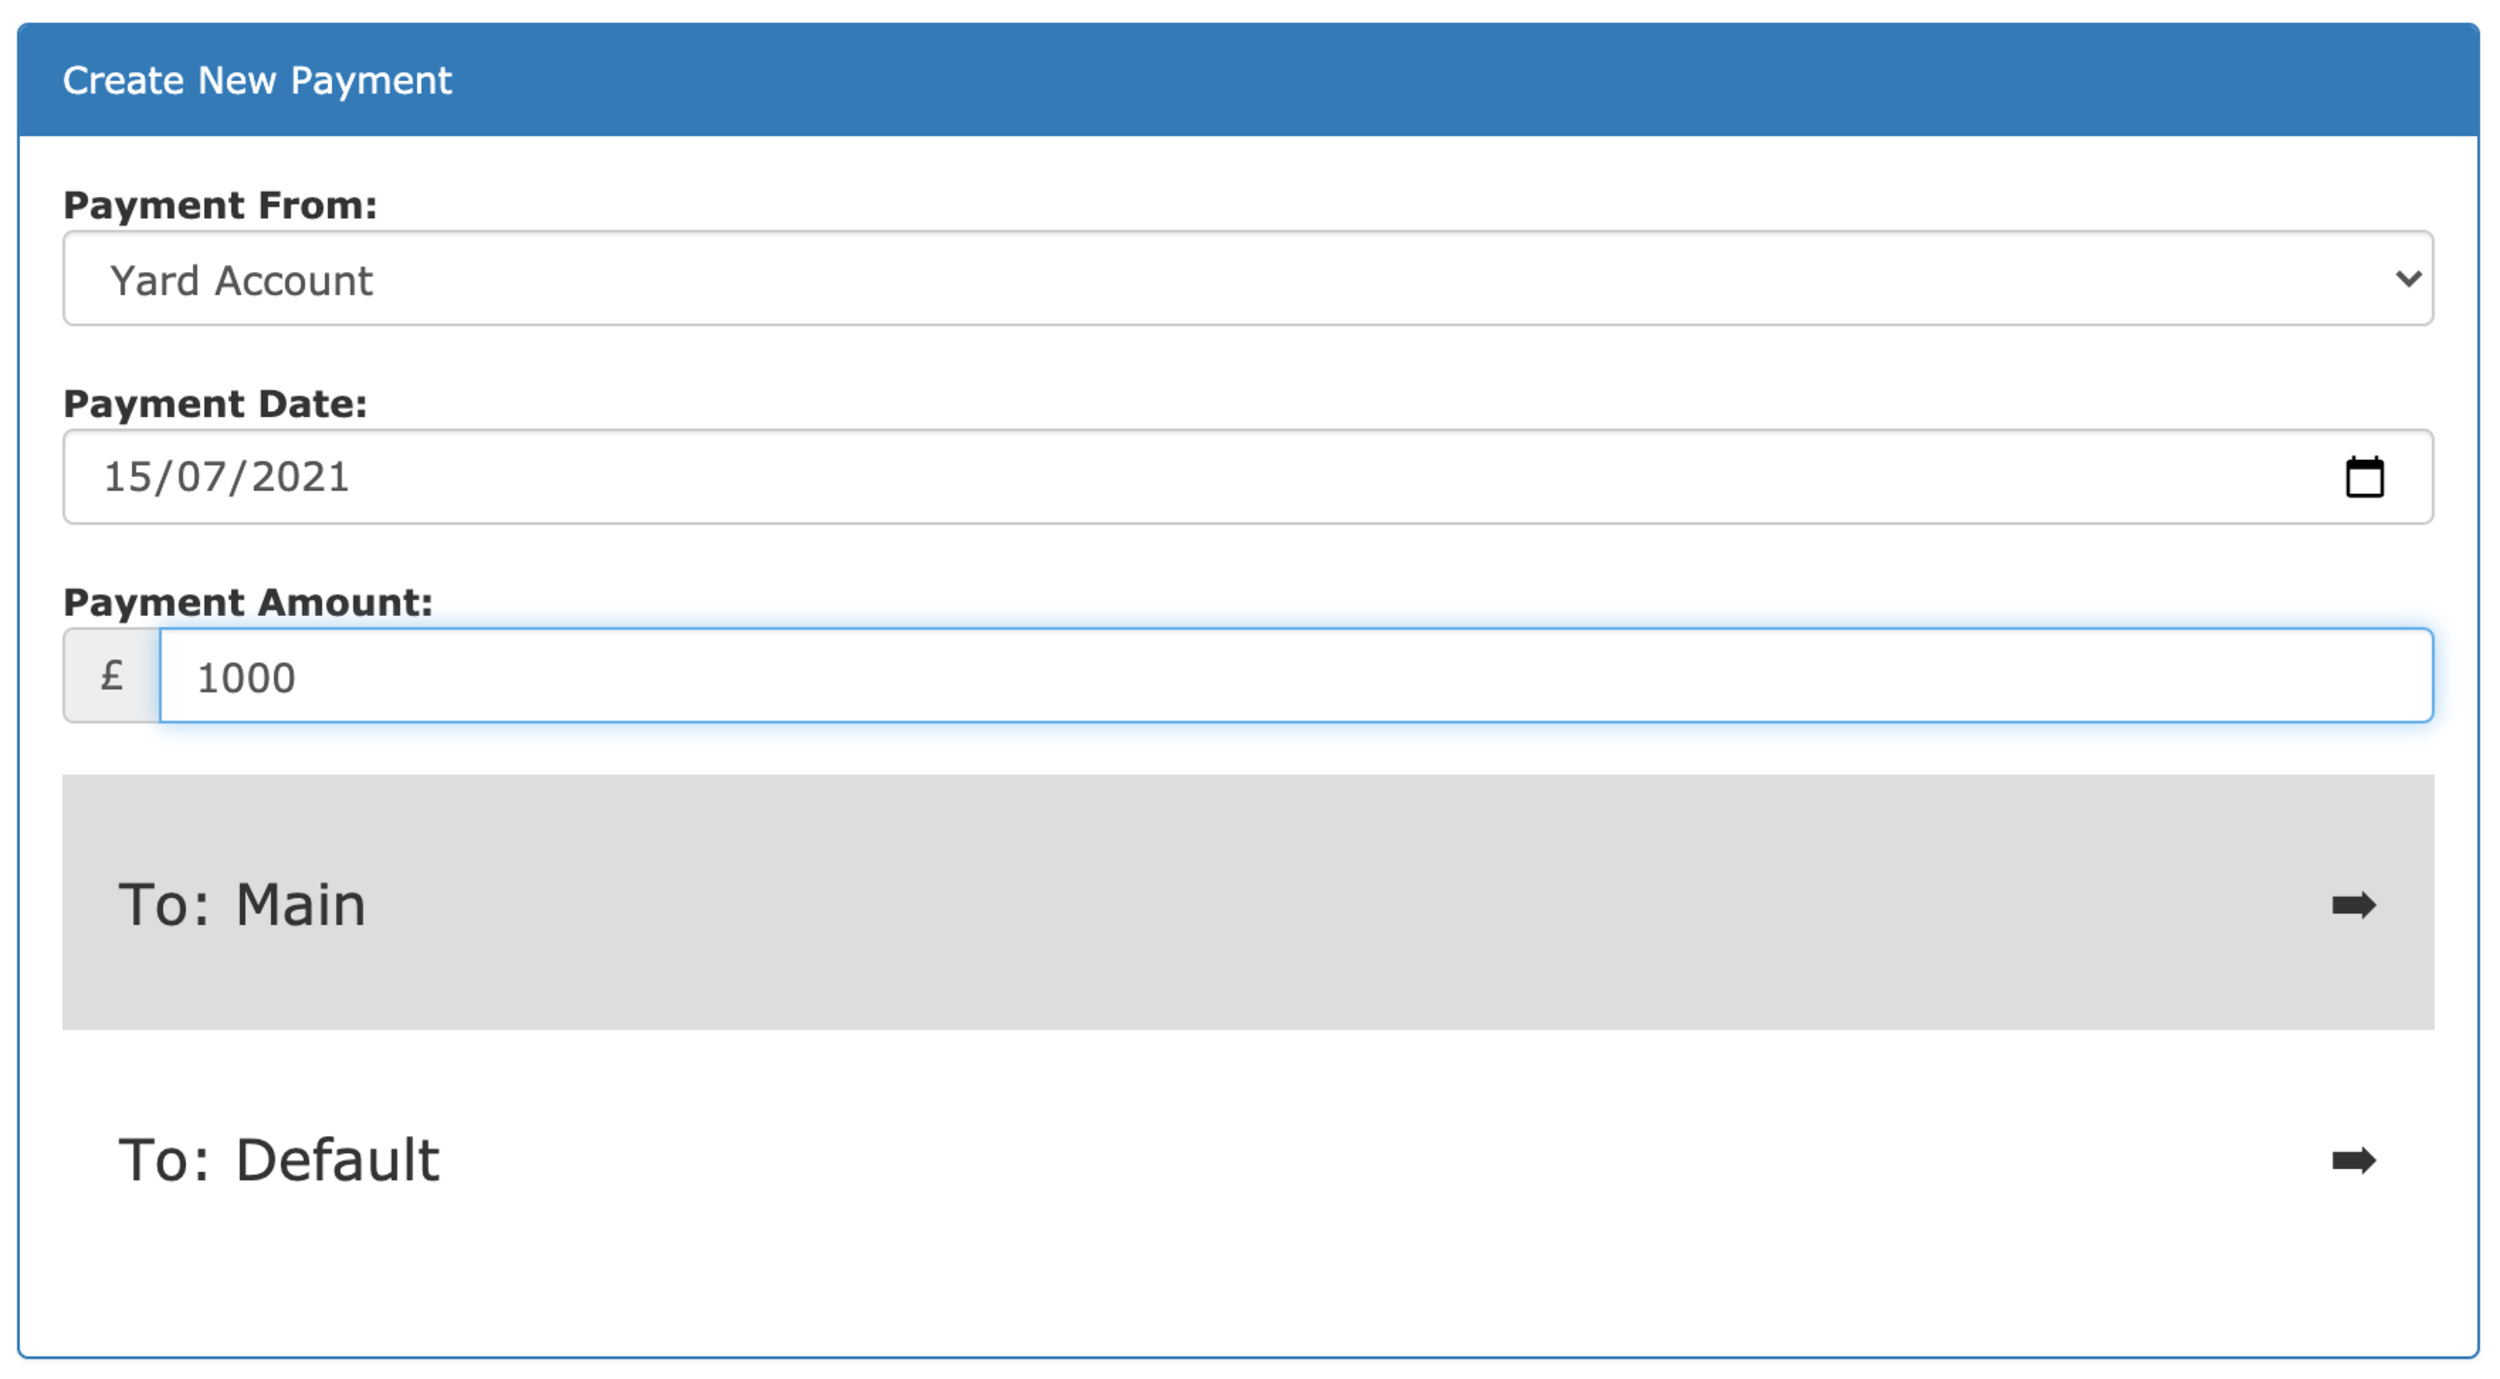
As you’ll see it’s the same as the payment form you’ll be used to seeing when recording payments for invoices. Similarly when recording a payment for an invoice you can record to which account the prepayment was made and by which method it was paid.
That’s all it takes to record the prepayment and have it ready to apply at a later date.
When it comes to invoicing time you simply go to Record Payment on an invoice as usual but now you’ll see a new option to Assign Existing Payment.

From this screen all you need to do is click on Assign To This Invoice and choose how much of the prepayment you want to apply.
As with our entire invoice and payment tracking system we support syncing these payments and allocations to both Xero and Quickbooks, meaning you can keep your accounts as organised as your yard.
Due to our commitment to sync data within At The Yard to various accounting packages there are a few limitations with prepayments at this time. We are, in general, dependant on the integration options provided to us by the 3rd party packages we sync with and so whilst we are looking into working around these limitations we wanted to make you aware of them for now:

We have just released two updates to the Booking system in At The Yard. The first, exclusive bookings which brings the ability for you and your users to exclusively book a facility for a horse. The second, multi slot bookings to make it quicker and easier for users to book extended sessions in a facility.
To make the most of the facilities you provide many yards allow multiple horses to use a facility at the same time. At The Yard’s social features means your customers cam see what others are doing with their horse, letting them decide if it’s a suitable time to join in or if the need to wait for another slot.
However there are times when a horse must have the facility to itself, an exclusive booking. The most common example of this being a riding lesson with an external instructor which typically requires the entire school so not to interrupt the lesson.
There are two different ways to set up exclusive bookings. The first is to simply allow users to choose when they want to make one. This can be done by going to the facility in the admin panel and checking the ‘Allow users to book exclusively’ checkbox.
Once setup the users will see a new option (shown above/to the side) when booking that will allow them to make it an exclusive booking.

The second way of setting up exclusive bookings allows you as a yard owner/manager a bit more control. It works by integrating with the defined uses for a facility. A new option called Exclusive Booking? is now present when making/editing a defined use. By checking this option it will make any booking for that specific defined use automatically an exclusive booking, all without any extra user interaction.

This allows you to offer the facility exclusively when required whilst stopping users from just choosing to have exclusive use of a facility either excessively or unnecessarily.
The second new feature called Multi Slot Bookings allows for bookings to be easily made which span multiple booking slots. The maximum length of these bookings is defined by the Maximum allowed bookings in a row value set for the facility in the admin panel.

When a multi slot booking is available to a user they’ll see an Extend Booking button whilst making a booking, When clicked it extends the length of the booking by one slot length. It automatically checks the availability before offering the extension and if it’s possible it’ll allow to user to extend the booking more than once (up to the allowed number of bookings in a row).
This is also available for members of staff when making bookings on behalf of the users and will be coming to the kiosk view soon.

Last year we introduced Composite Bookings to At The Yard which allowed you to setup the links between your facilities and resources (e.g. an arena and an instructor). Since then we’ve introduced service ordering by calendar view which lets you have your services (like lessons) be bookable on a calendar.
These two updates brought with them a big leap in the usability of services in At The Yard. They did this whilst also making the ordering process much much quicker. Before the updates you or your customer needed to go and separately book the arena for the lesson to take place in and then book the lesson itself. This took longer and was prone to errors. With the changes it became a one step process - order the lesson and have At The Yard take care of everything else for you.
However it still had it’s limitations, what if you had more than one arena and you were happy for the lesson to take place in any of them? With the old system this wasn’t possible and you had to revert to the manual multi-step method - something we were not happy with and so we are excited to have launched this update which expands on our previous work, making this and so much more possible.
To facilitate this involved a complete rewrite of how we calculate availability and process bookings in At The Yard. In doing so we not only added this feature but put together robust system which can be built on in the future.
The key visible change to you and your customers is the ability to make those choices at the time of ordering/booking. Like everything in At The Yard it’s quick and simple, involving a single tap of a button. Once you’re done the system goes away and does all the hard work for you.
The changes to the booking/ordering screens that your customers see are relatively small. However one significant change is that on the calendar booking screen they now see a preview of availability that takes into account all of the linked services and facilities.
In the example shown below both the schools in which the lesson could take place have been booked during the first slot on Monday and so the slot show 0 / 1 bookings. This is because, whilst there is no lesson booked for that slot, it is still unavailable as none of the schools are available at that time.

When a customer chooses an available slot they’ll be met with the familiar order/booking screen. Now along with the choice of horse they’ll see a new option allowing them to choose which school they want to use (shown below):

We’ve shown a very simple example here. But should you have multiple layers of dependencies (e.g. a choice between indoors or outdoors and then a further choice from multiple indoor and outdoor schools) the user will be presented with the needed questions one by one as they give their answers.
In this way you can have complex multilayer dependencies for your services (which can be as simple or complicated as you wish) and your users still only have to answer a few simple questions.
Like the previous system when they complete their order/booking it’ll automatically book the required facilities as well. The difference in the new system is that it’ll book the facilities in accordance to the choices they’ve made.
Getting everything setup is quick and easy. In this example we’re going to setup a service for a ‘Lesson with Junior Instructor’. The first step is to create a facility group that contains the facilities that could be used to teach the lesson in. You can find this option by going to Facility and click on the Show Dependency Groups button. This will show you all your existing groups and allow you to create a new one (shown below).

Within this form you can create a group and populate it with facilities. At this stage you also get to select the ‘group type’. At the time of writing there are two types; Choice and All. The type defines how the group is used when working out availability.
The next step is to add the new group as a dependency of the service. To do this go to Admin -> Service and edit (or create a new) service. Scrolling down you’ll find the Dependant Facility box.

Click on the plus to add the dependancy, then in the dropdown choose our newly created group (in this example Group: Schools). Then simply save the service.
You have now successfully setup the service and it’s dependencies and so it’s ready for your customers to use.
This new system offers complete flexibility in how you setup your yard and it’s dependencies, all whilst keeping things simple for your users. We’ve already had customers start using the new feature to great effect simplifying and optimising their day to day admin.
So if you’re using At The Yard and are not currently taking advantage of the new flexibility what are you waiting for! Alternatively if you’re not yet one of our customers and the idea of being able to have all the flexibility this offers whilst not creating any additional admin work please do get in touch today. We’d love to give you a demo and show you how you can save time and money.